Underfloor heating is the right heating choice for almost every new build and extension going on in Kent today. Low flow temperatures pair perfectly with heat pumps, the finished floor is warm and even, and the system outlasts the boiler or heat pump driving it. But getting to that outcome depends on design decisions that happen before the first trench is dug. This guide covers the decisions, in the order they come up.
Why UFH Is the Right Choice for a New Build
A new build or extension gives you something a retrofit never will: the ability to design the heating system in from day one. Insulation depth, slab construction, zone layout, manifold location, pipe spacing, and floor finish are all decisions that can be made before a single cable is pulled. That discipline turns UFH from "works ok" into "works beautifully".
Insulation: the Foundation of the System
Underfloor heating without enough insulation underneath is heating the slab and the ground, not the room. Part L of the Building Regulations sets a target U-value for ground floors; achieving that target over a heated slab typically means 100–125mm of PIR insulation on the slab, plus perimeter edge insulation tight to every wall. Modern passive-standard builds push it higher again.
- PIR insulation: 100mm minimum for a heated slab in most new builds. Goes on top of the DPM, taped at joints, with perimeter edge insulation fitted first.
- Perimeter edge insulation: 8mm foam strip around every wall, preventing heat loss through the slab edge and allowing the screed to expand.
- DPM: Damp-proof membrane below the insulation, lapped and taped.
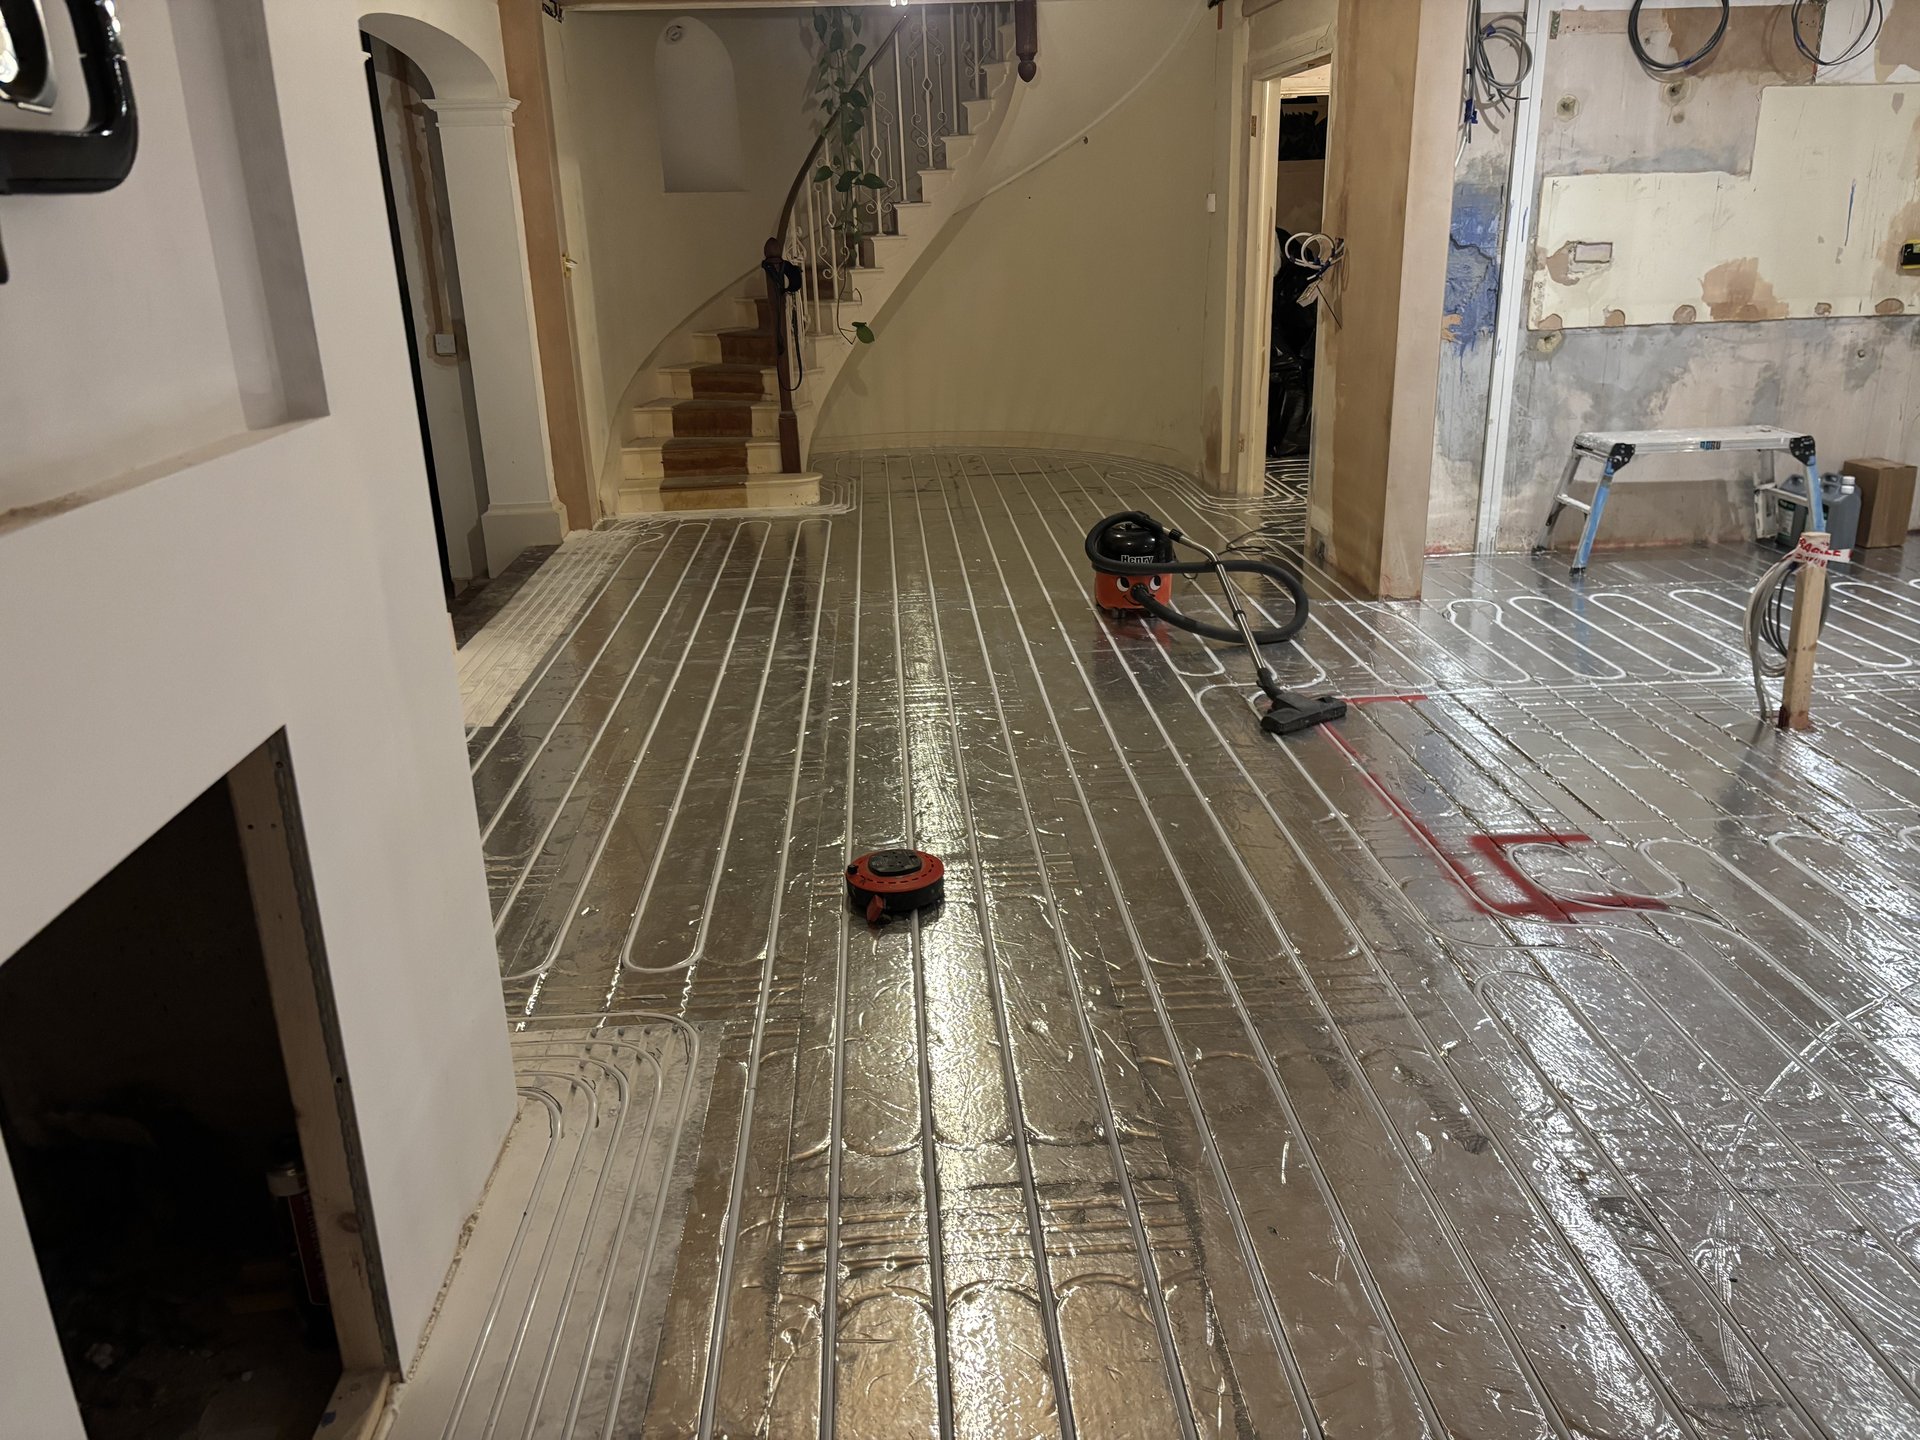
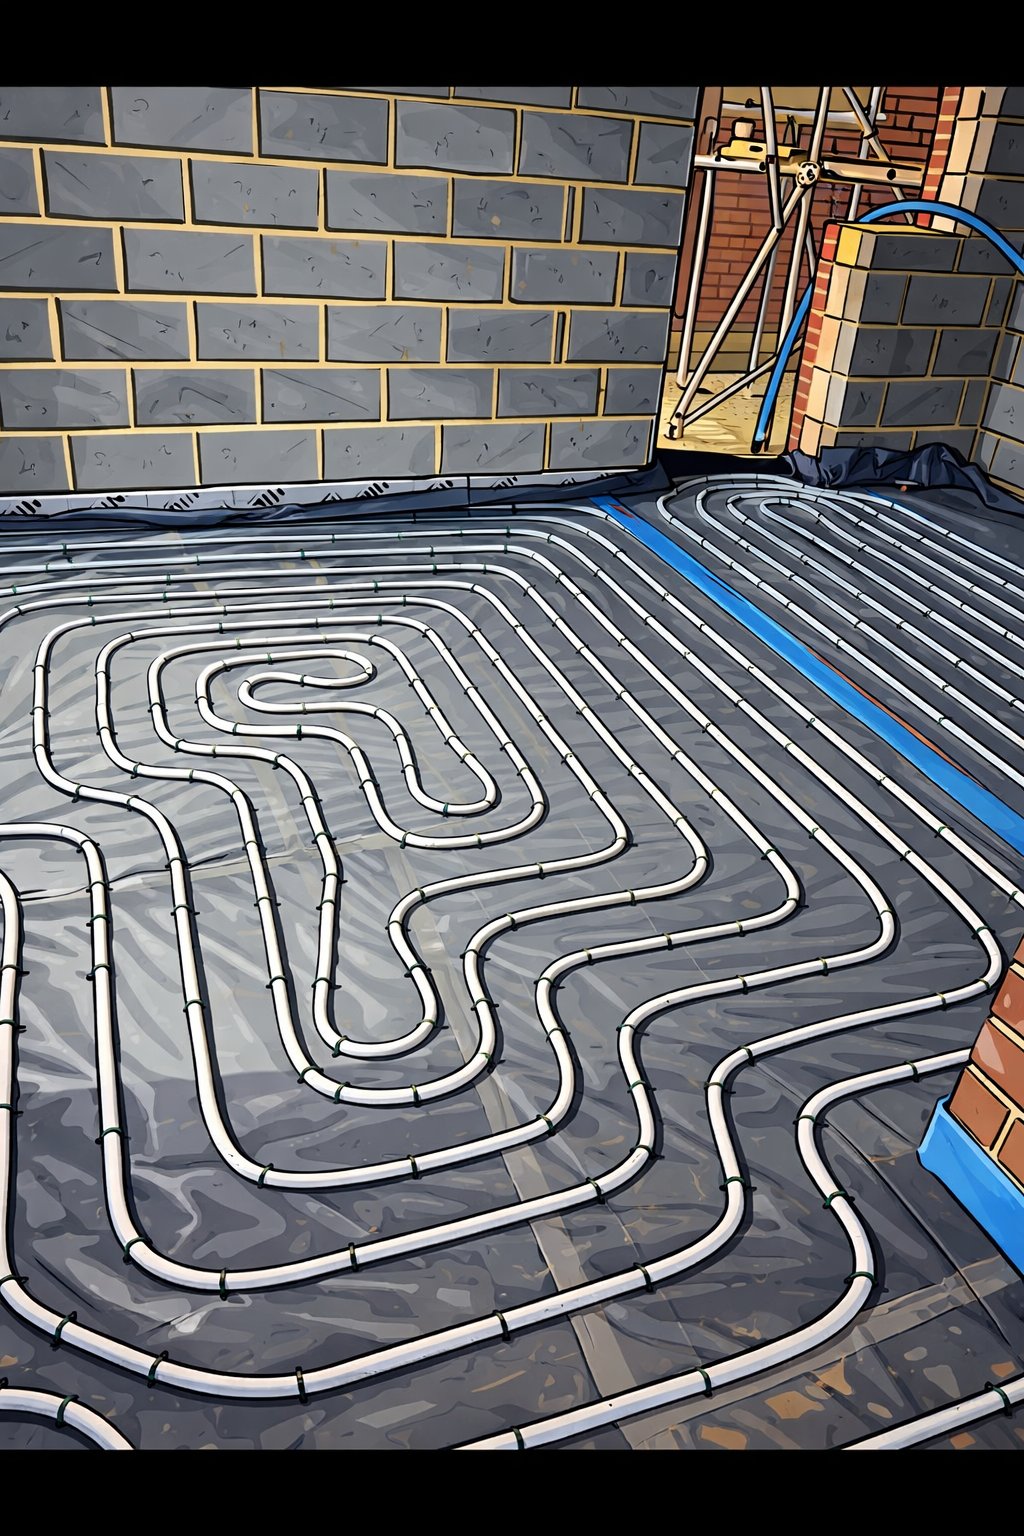
Pipe Spacing and Layout
Pipe spacing sets the output per m² of the floor. 150mm centres give a higher output suitable for full heat-loss coverage; 200mm centres give a lower output that suits very well-insulated homes and heat-pump systems. Every room gets its own loop (or multiple loops if it's large), laid out in a spiral or serpentine pattern depending on where the windows and cold spots are.
Manifold and Zoning
The manifold is where every loop in the house terminates. Each loop has its own flow-meter and actuator so the system can balance flow rates and zone rooms independently. Modern controls make zoning straightforward; the design decision is how many zones, typically one per room for a ground floor, grouped differently if there's a large open-plan area.
Planning an in-screed UFH install?
Call Kent Underfloor Heating on 07452 995369. We work from drawings and co-ordinate with your builder, screeder and heat pump installer.
Call for a Free QuoteScreed Specification
Screed depth and type set both the response time of the system and the curing window. Two common choices:
- Sand and cement screed: 65–75mm. The traditional choice. Cures in 7–28 days depending on the drying conditions. Large thermal mass means slower response but excellent heat retention.
- Flow screed (anhydrite): 30–50mm. Self-levelling, faster to pour, faster to cure, thinner build-up. Needs specific commissioning to sand the laitance off before a finish goes down.
Commissioning Schedule
Screed cannot be heated too early. The first heat-up has to ramp up gradually to avoid cracking. A typical sand-and-cement commissioning schedule looks like this:
- Day 1 (28 days after pour): Cold-fill and leak-test the system (we do this before pour too, but re-test after).
- Day 2: 25°C flow, hold.
- Days 3–5: Raise by 5°C per day to design flow temperature.
- Days 6–7: Hold at design flow, then ramp down.
We provide a written commissioning schedule with every in-screed handover. Your builder or heating engineer can follow it, or we'll come back and commission it.
Frequently Asked Questions
Almost perfectly. UFH loves low flow temperatures (35–45°C) and that's exactly where heat pumps hit peak efficiency. Design the pipe spacing to the output you need at heat-pump flow temperatures.
Yes, in new builds. Design the pipe spacing and insulation properly and UFH alone will heat the house. In retrofit situations it's often a mix, UFH on the ground floor, radiators upstairs.
Sand and cement: 7–28 days depending on drying conditions. Flow screed: typically 24–48 hours before you can walk on it, 7 days before finishes, and a specific forced-dry commissioning schedule before heating.
Somewhere central, accessible, and out of the way. Utility cupboards, under stairs, or in a plant room are common. We'll work it out on the drawings before any pipe is ordered.
Yes, carefully. The pipe is pressurised during the wait for the screeder so any accidental damage shows up as a pressure drop. Trades should stay off the loops where possible, but a careful walk-through to check another trade's work is fine.
Subfloor prep and pipe install typically runs £20–£35 per m². A detached new build ground floor (150m²) is often £4,500–£6,500 all-in, before the screed is poured by the screeder separately.